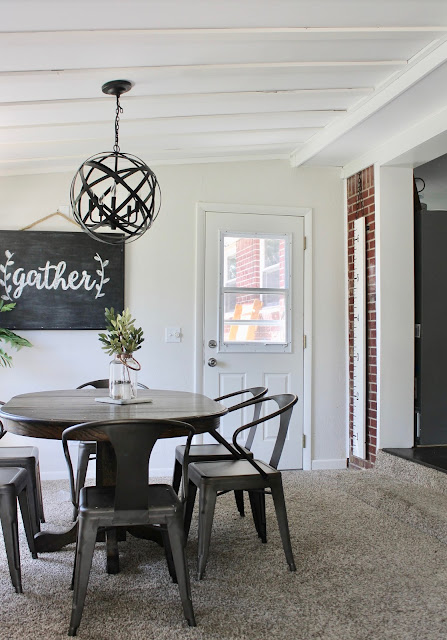
I had planned on making this growth chart for Mack's first birthday buuuuuut I got it finished on his 19 month birthday! Now if I could just get back to finishing his baby book... There are so many cute growth charts on Etsy but I decided it would be more special if I made it myself. This project was not the easiest DIY but after you get the hang of things it gets easier {I promise!}.
DIY Growth Chart
Supplies:
1x8x6
White Paint
Fat Sharpie
Tape Measurer/Ruler
Painters Tape
Straight Edge
Printed Numbers {Century Bold, Size 230}
Scissors
Pen
Directions:
1. Paint your piece of wood and allow to dry completely.
2. On the left side of your board, mark every 1 inch.
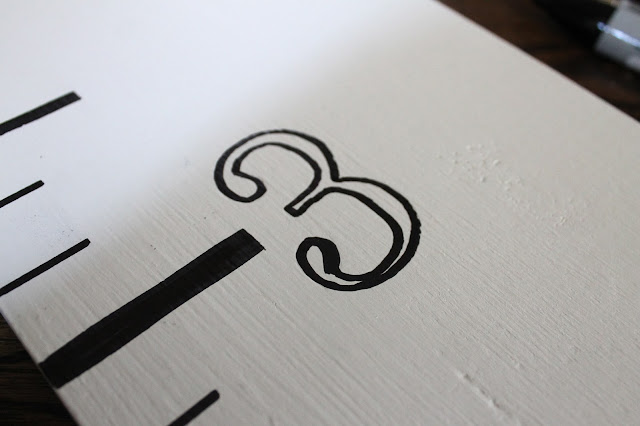
3. I took pictures of the process, but it was late at night and they came out terrible. I took some "fake" process pictures so I hope they help! Every third mark you made tape off the length of 2 inches.
4. Now take your straight edge and sharpie, and draw a line with the fat part of the sharpie. I had to wipe my straight edge with a paper towel to prevent unwanted marks.
5. Now tape off 1 inch length of the remaining 1 inch marks.
 6. Using your straight edge and sharpie, draw a line with a thin part of the sharpie. Now if you want to you can go back and make the foot makers thicker. The 1 foot mark starts at the 6th tick then the 2nd foot mark is at the 18th tick and so on.
7. Cut out the printed numbers and place them on the foot marks.
 8. Trace the numbers with your pen, pressing hard so you leave a mark! The mark needs to be very light but visible.
9. Outline the numbers with the sharpie then color it in.
All done! I promise that at first you will think; "this is going to take me FOREVER" then 5 minutes later you'll think, "I've got this!" Just turn on some trashy TV and get to work.
Have a wonderful week y'all!


No comments:
Post a Comment